How to install eSIM on iPhone or iPad?
DO NOT DELETE MoreMins eSIM if something is not working. Please contact Customer Service via the Chat Help or email [email protected] and we will help you asap.
Detailed instructions are provided below. We advise you to install eSIM mobile data at least one day before your trip.
1. If you have started installing your eSIM on 'MoreMins eSIM'
app, go to step number 4. In all other cases, start from the first step.
2. Open your smartphone's camera and scan the QR code. Find QR code in a self-service of MoreMins e-shop.
When you point the camera at the QR code, a pop-up message Mobile plan will appear on your screen.
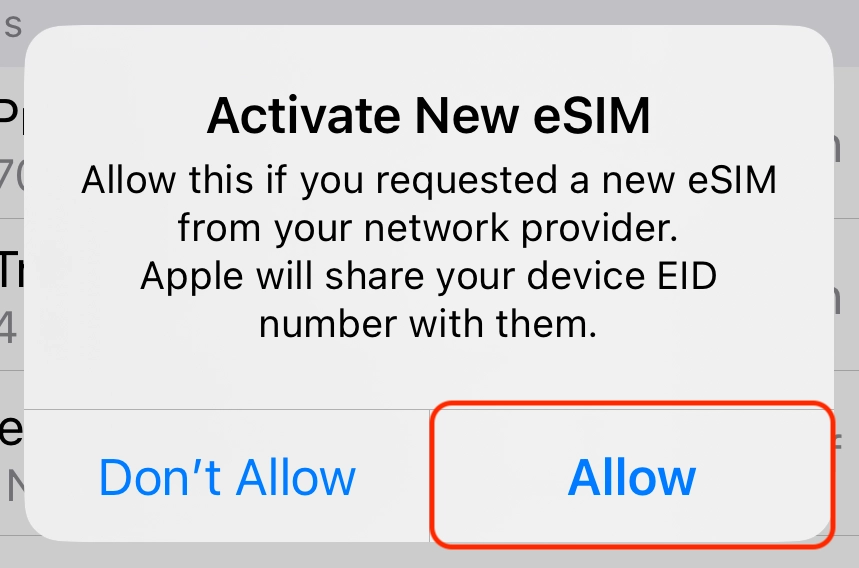
Click on it. Click Allow to start the installation process on the message that appears.

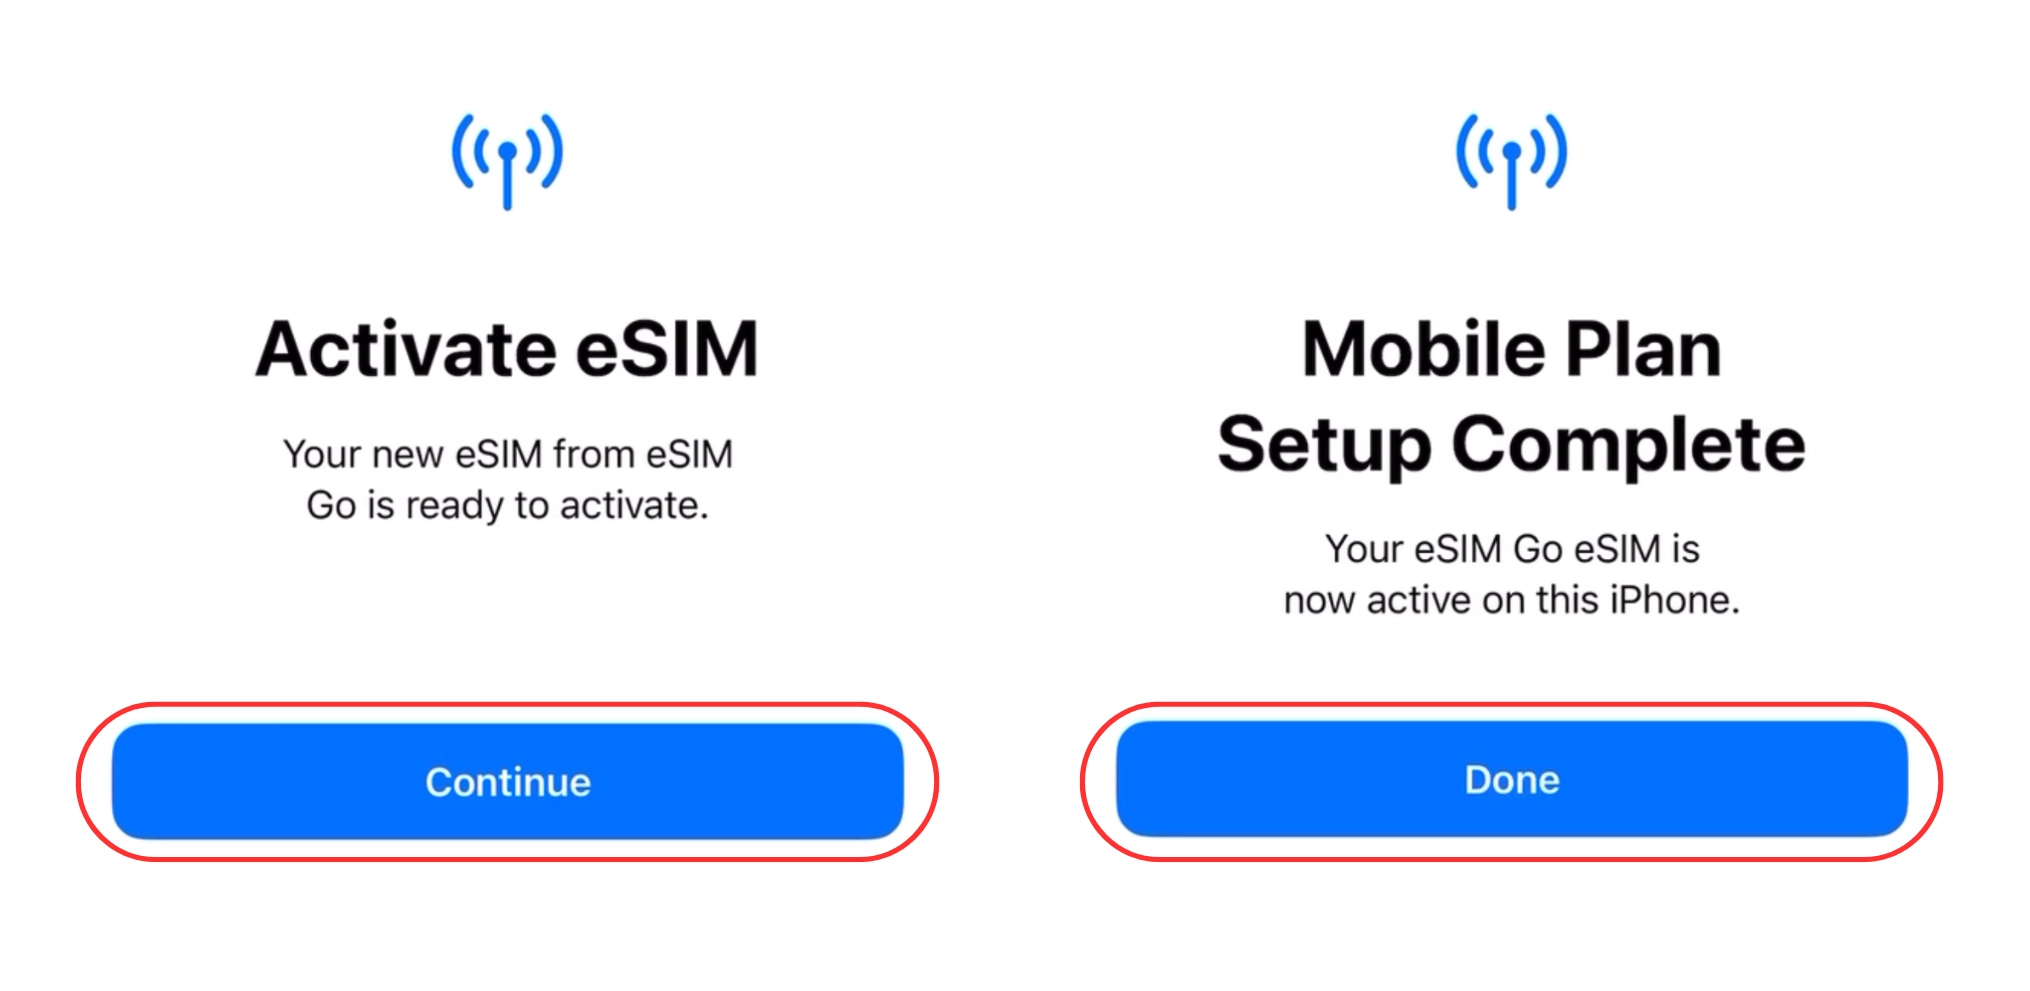
3. Click Continue in the "Activate eSIM" window and Done in the "Mobile
Plan Setup Complete" window.
4. In the "Mobile Plan Labels" window, name the eSIM you have installed - "MoreMins
eSIM" (second box). It will be easier to find it later. Then click Continue.

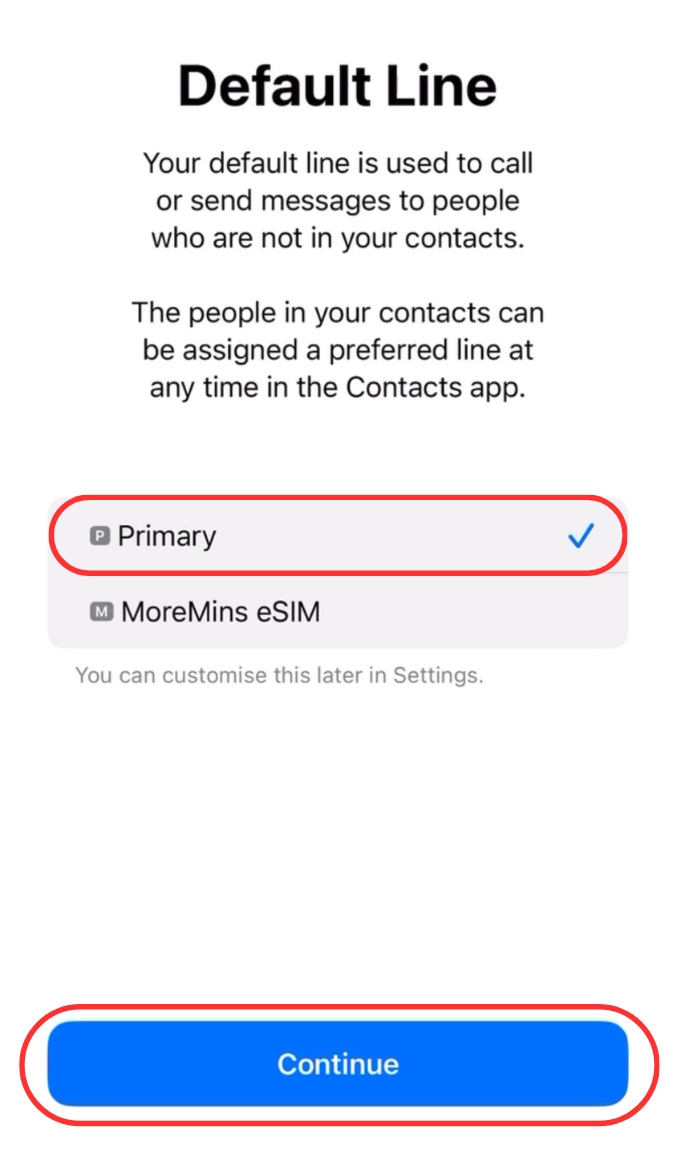
5. For your Default Line (for calls and messages) select your Primary SIM card. It is your mobile operator's SIM card that you use at home. This why it is called "Primary". Then tap Continue.
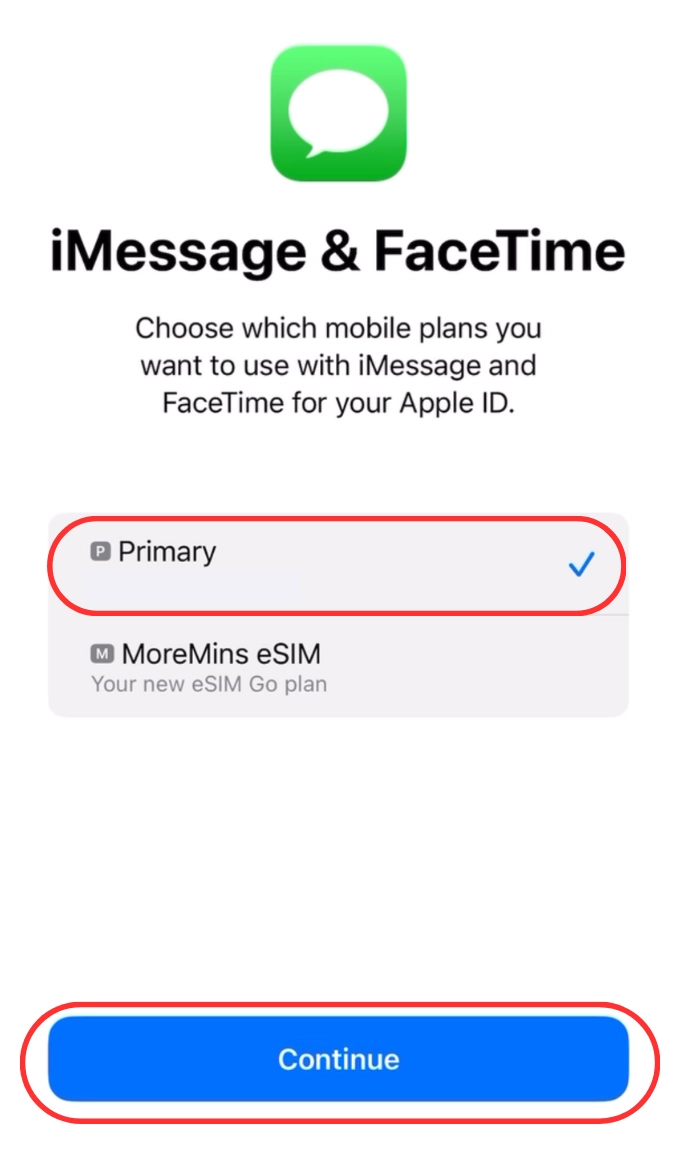
6. For iMessage & FaceTime select Primary and tap Continue.
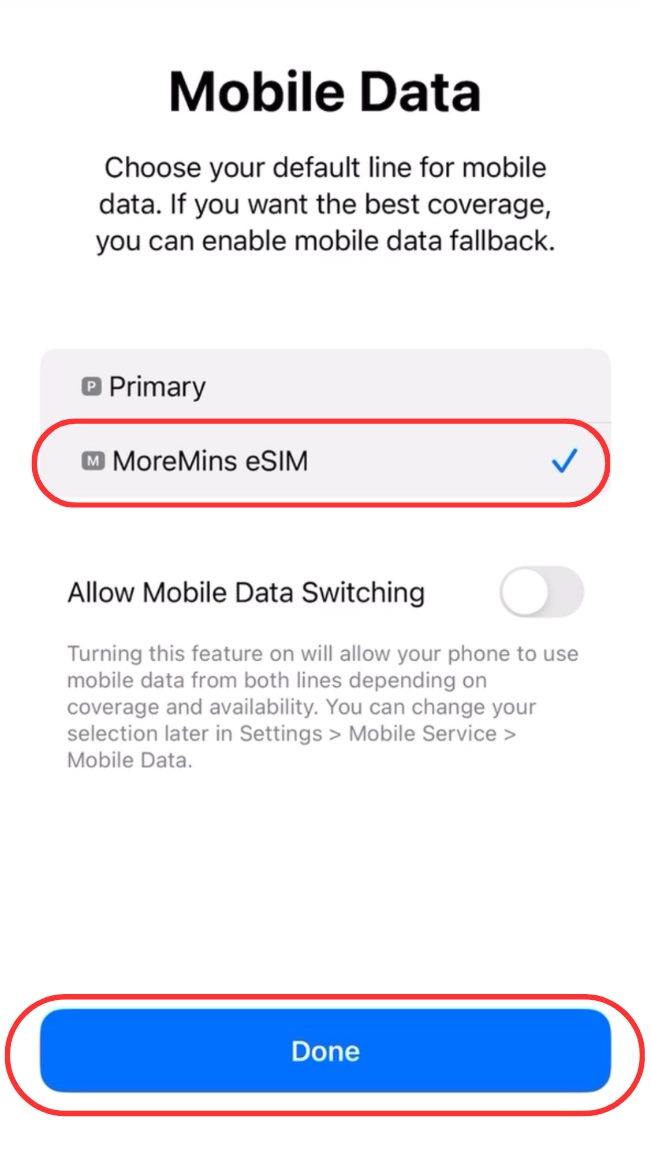
7. For Mobile Data, select MoreMins eSIM.
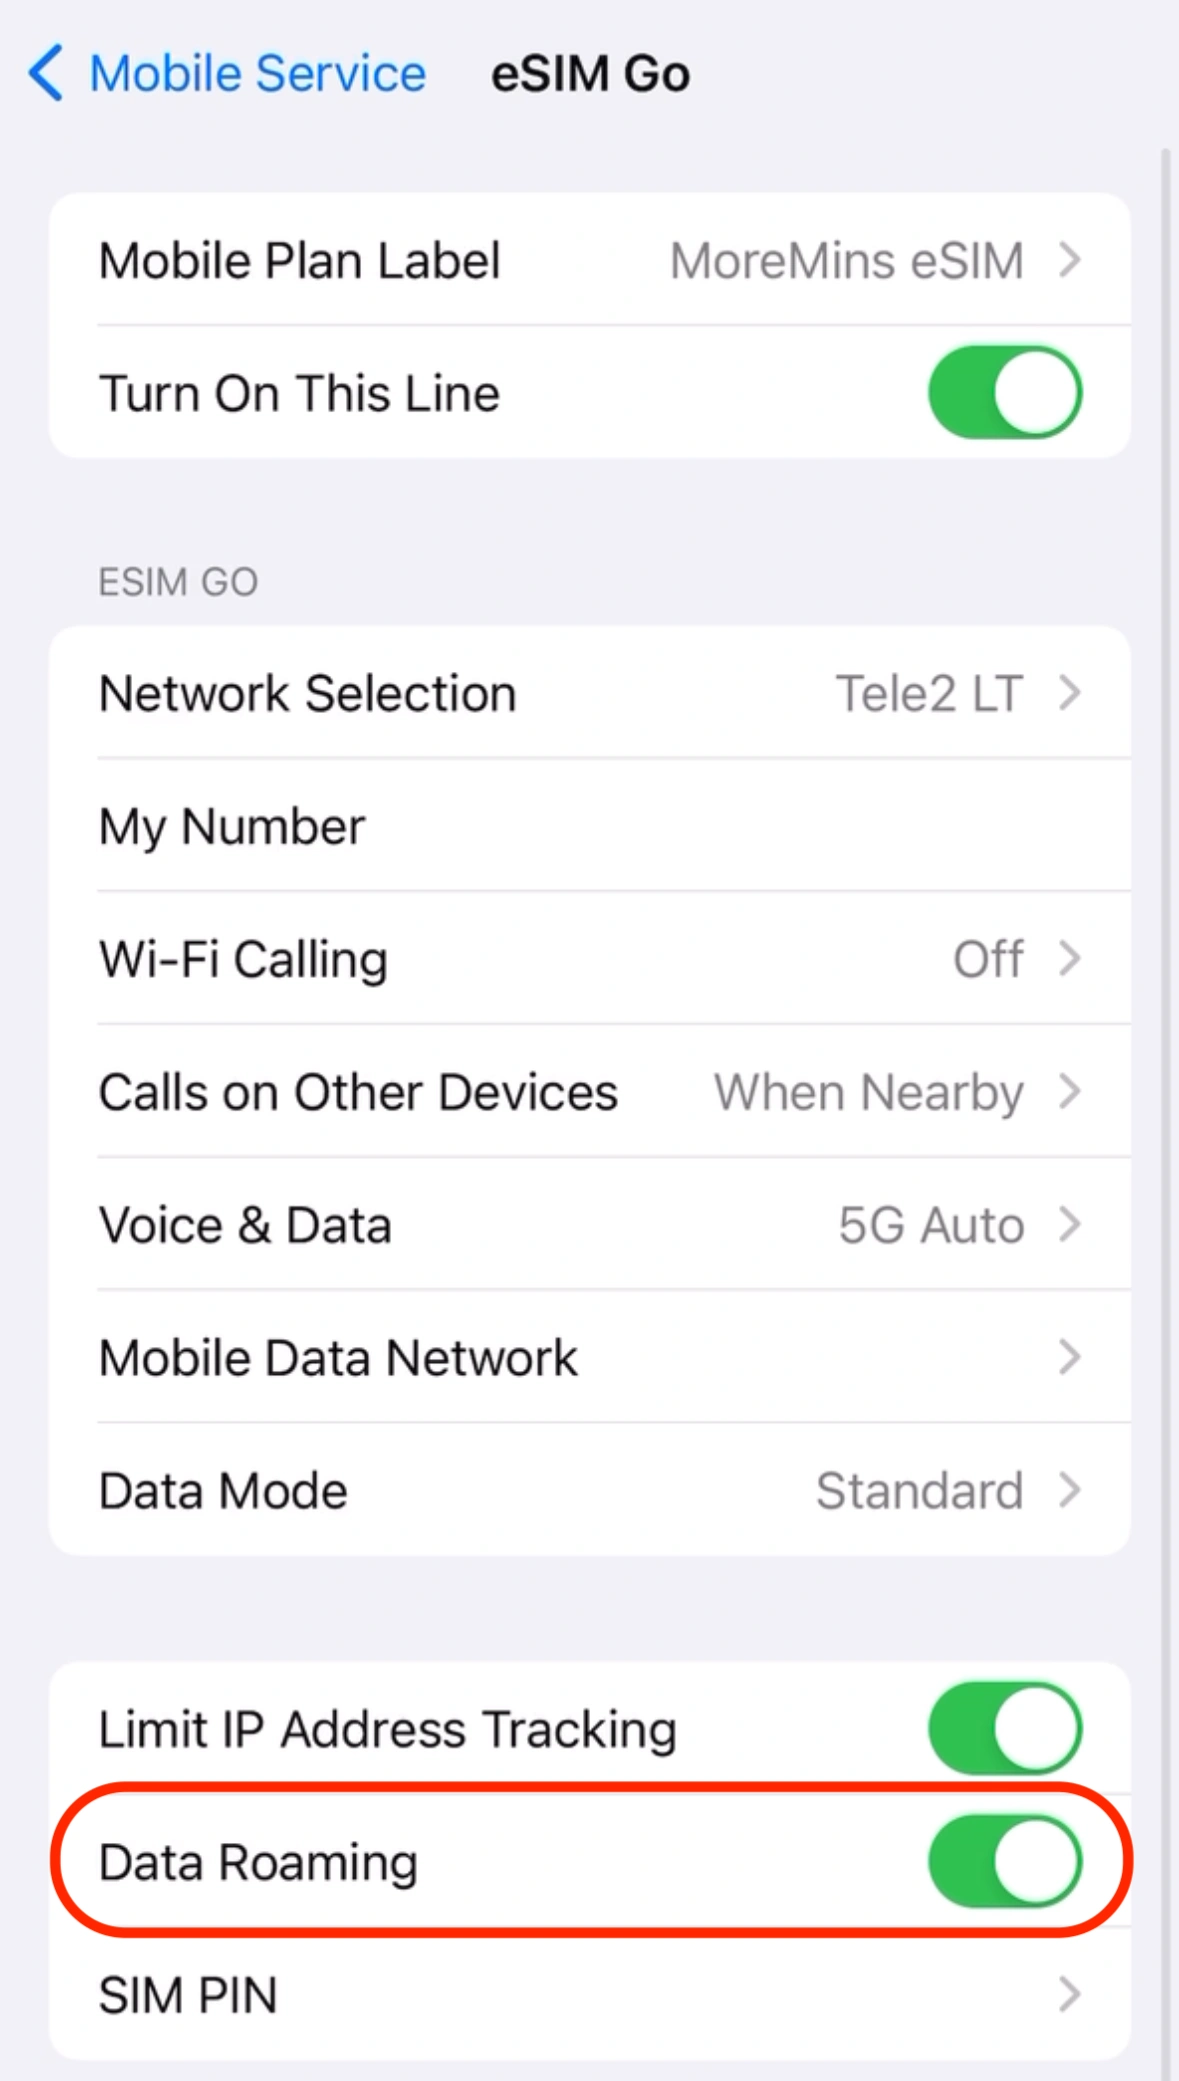
8. Enable roaming services for MoreMins eSIM profile. Go to Settings > Mobile
Service > MoreMins eSIM and tap Data Roaming on.
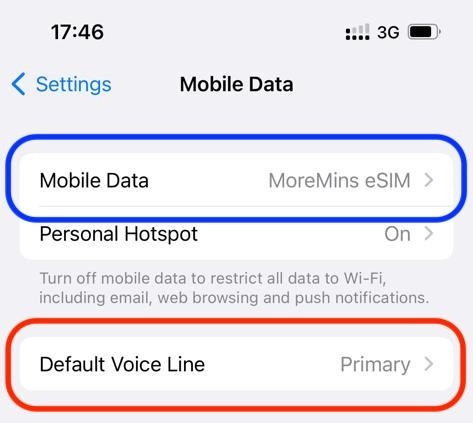
9. Then go to Settings > Mobile Service > Mobile Data settings, select MoreMins eSIM.
At the end your setup should look like this:
10. The setup of MoreMins eSIM mobile data services is complete. It can take up to 10 minutes for eSIM to connect to mobile operator's (which is MoreMins local partner for mobile data) network. Turn off your Wi-Fi.
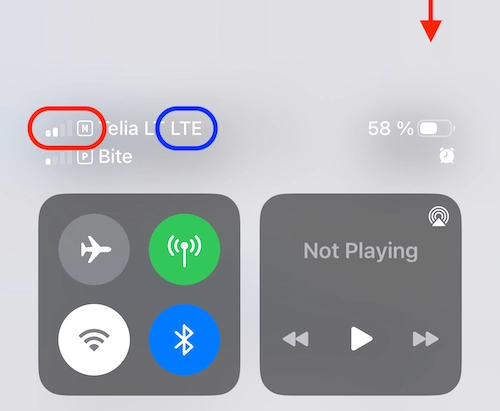
In the iPhone Control Center you should see MoreMins eSIM services with the symbol M.
When you connect to mobile data, mobile internet symbol (5G, 4G, 3G, LTE, etc.) appears next to the active network operator's name. Mobile data symbol (5G, 4G, 3G, LTE, etc.) shows which operator's mobile data (internet) you are using. When eSIM connects to mobile data you should see 4G or LTE symbols in the "M" line.
Always check if you are using the MoreMins eSIM internet during your trip.
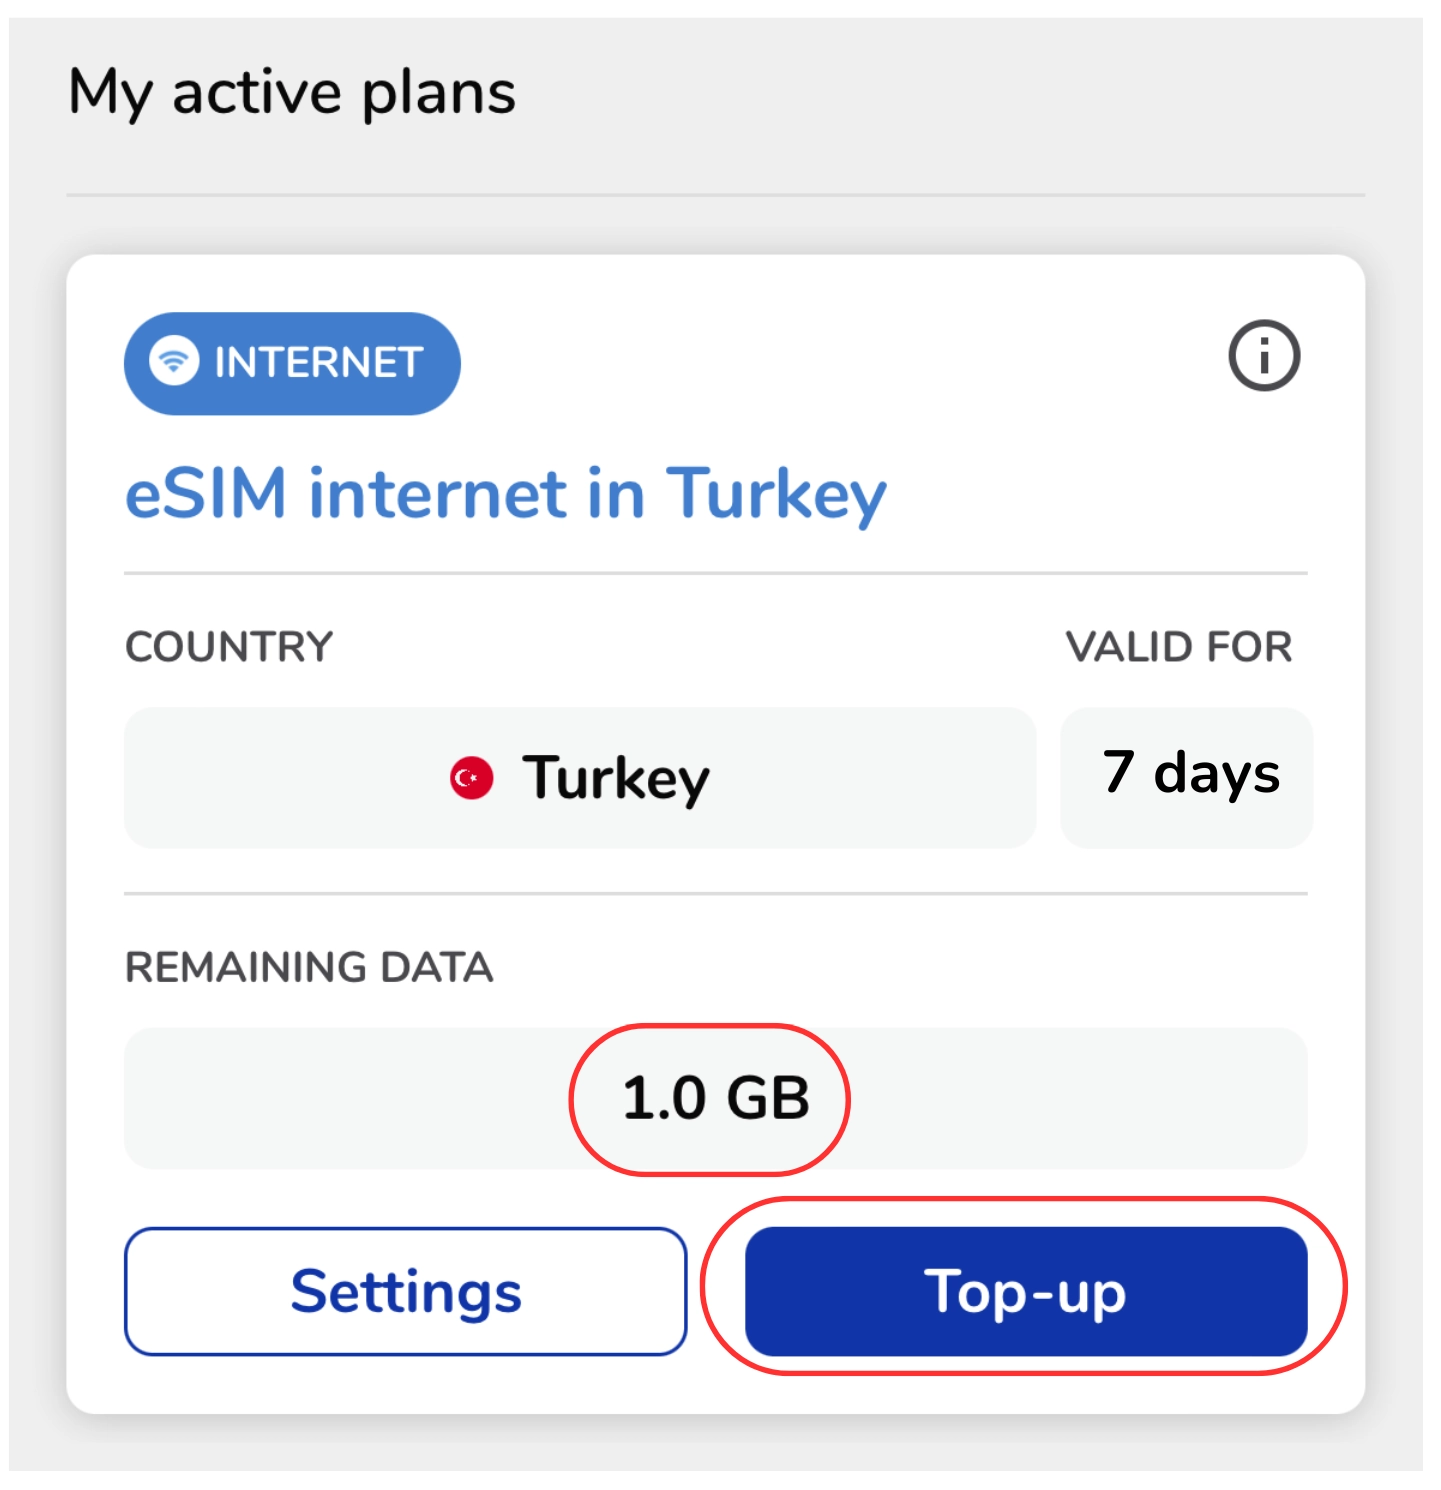
- Monitor your data balance in the MoreMins eSIM app. When the data expires, you can top it up.
- If you use mobile data but your remaining data balance is not decreasing, please refer to the steps 8-10 of this guide.
IMPORTANT! DO NOT DELETE MOREMINS ESIM IF YOU ARE UNABLE TO CONNECT TO THE MOBILE DATA.
If the new eSIM does not connect to the Mobile Operator's Network within 30 minutes, please contact Customer Service via the Chat help, by email [email protected] or call the phone numbers listed at the bottom of this page.